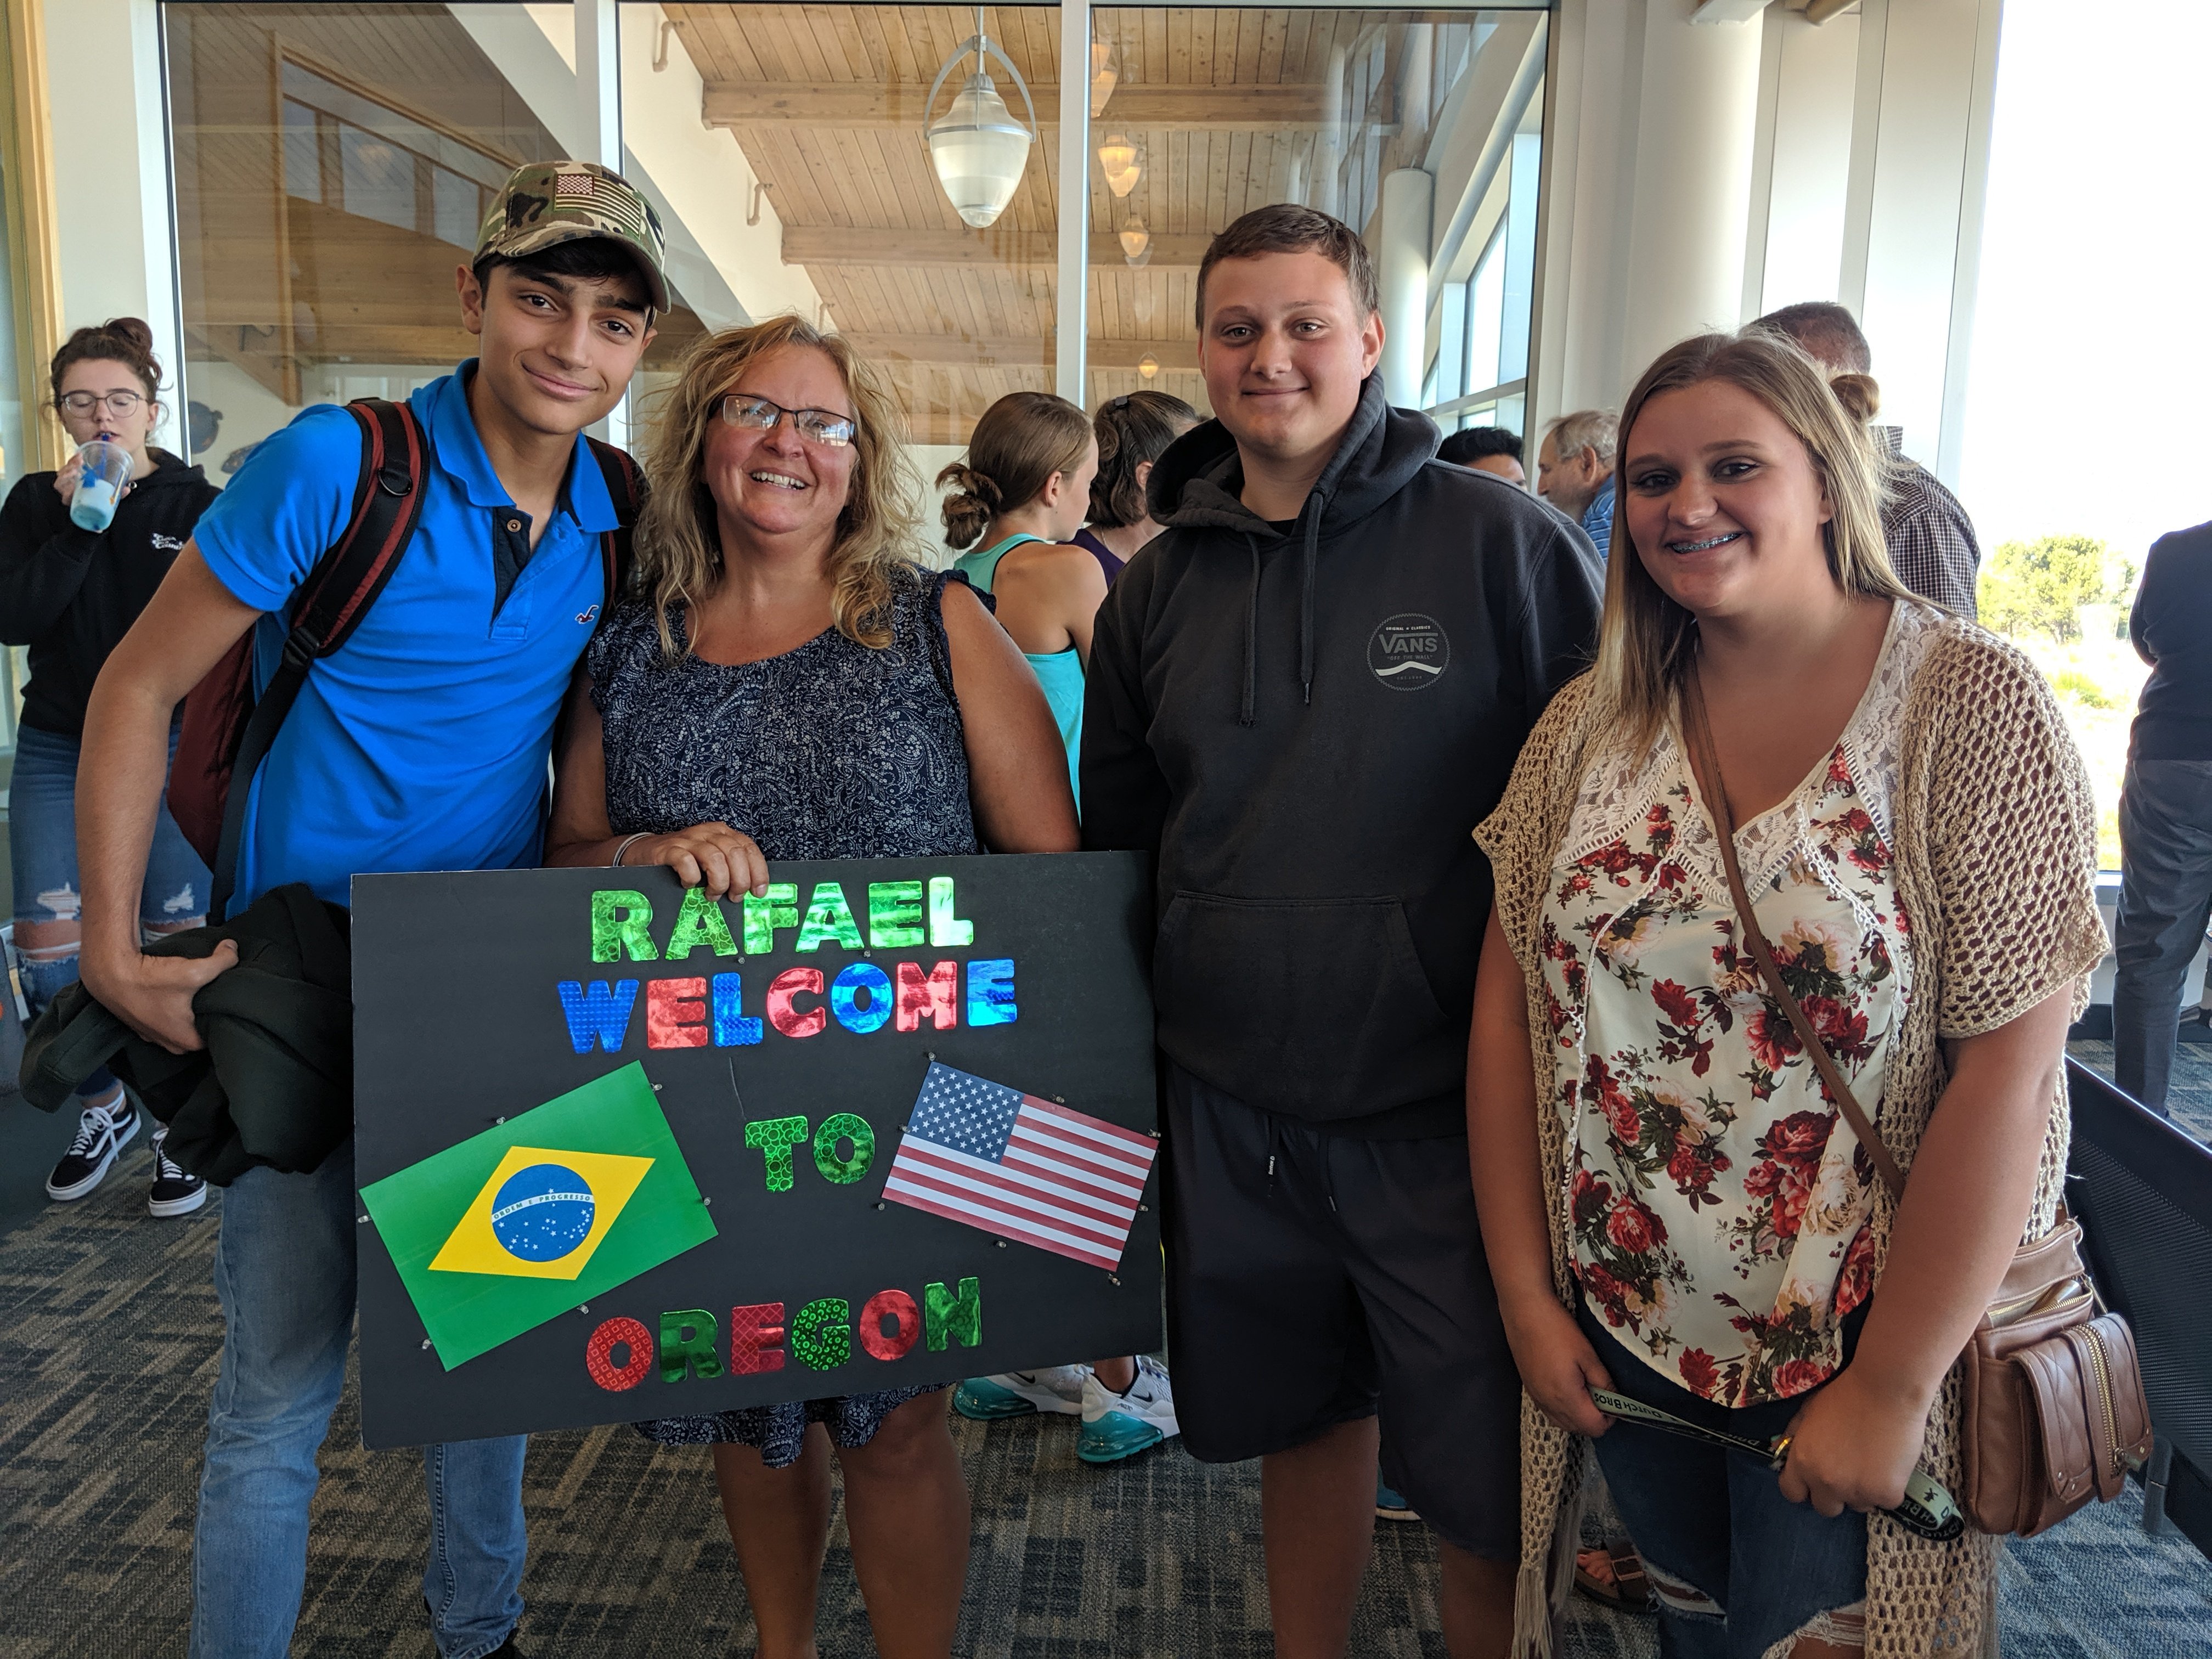
Now, more than ever, we are looking for ways to bring unity, peace, and understanding to our world. Hosting an exchange student is an excellent step in that direction and is also a fun and enriching experience that will benefit your family in so many ways. Whether you have already made the decision to host a student or are still contemplating hosting, this step-by-step guide will help prepare you for the process so that you can better understand what to expect.
Step 1: Reach out to ICES to start the process
We will put you in touch with a coordinator in your area who can answer questions, assist with the application process, and help you find the right student for your family. We've been bringing international students to the U.S. for nearly 30 years, and we'll use our experience to make your experience smooth and easy.
Step 2: Complete a host family application

Your Local Coordinator can set up an online application or provide you with a hard copy if you prefer. The application is brief and will ask for general information about your family members, your home, and your community so we can verify that you are eligible to host.
Step 3: Submit a criminal background check
Student safety is our top priority. Part of your host family screening includes a criminal background check paid for by ICES. This is required for everyone 18 and older who lives in your home. It may be submitted via our secure online portal or by completing a hard copy authorization form.
Step 4: Receive an in-home visit
 Your Local Coordinator will schedule a time to come to your home and meet with all family members. During this visit, they will explain the program in more detail, answer any questions you might have, and get to know your family. They will also tour your home, taking pictures of the common areas of the home and the student’s bedroom and bathroom. The home visit usually takes 1-2 hours.
Step 5: Select your exchange student

For most families, the most exciting part of the application process is selecting the student who will live with your family. You may select a student who shares your interests, hobbies, or faith, or perhaps choose a student from a particular part of the world with a culture that interests you. Who you host is entirely up to you.
Your Local Coordinator will provide you with student profiles that include general information about the student and an introductory letter from the student. After your background checks have cleared--usually in a day or two--and you have been confirmed as eligible to host, you will have access to additional information, including student photos, videos, and a letter from the student’s natural parents.
As you go through the process of selecting a student, feel free to ask advice from your Local Coordinator who will be happy to make suggestions or give opinions on which student might be the best fit for you. Note that your local high school may have admission restrictions to consider when selecting a student. Your Local Coordinator will assist you in finding the right student for your family.
Step 6: ICES obtains acceptance at your local high school

Your Local Coordinator will contact your local high school to obtain acceptance for the student’s enrollment, get school start and end dates, and find out about any special requirements the school may have for exchange students. There is nothing you need to do for this part of the process.
Step 7: Get to know your student
 Once the placement has been finalized, you can start getting to know your student immediately. You can start bonding with your student through email, video chat, social media, or phone calls. It is fun and exciting to learn about one another's personalities and cultures. Perhaps they can share additional pictures of their family, friends, and hometown with you, and you can help them get an idea of what to expect when they arrive.
Step 8: Participate in a host family orientation

The Local Coordinator will conduct a required host family orientation before the student arrives. The orientation will address cultural differences, program rules, and solutions to common challenges and allow you to ask any questions you still have about your role as a host family. You may also be able to meet other families in your area that will be hosting at the same time.
Reach out to your Local Coordinator for anything you need
As you embark on the hosting experience, you will likely have questions along the way. Don’t hesitate to contact your Local Coordinator if you have questions, need assistance, or simply want some advice. All of us at ICES want this experience to be a fun and rewarding one for your family and your exchange student.
|
Ready to Get Started? Dive right in and be part of the excitement! We're on the lookout for host families all across the nation to welcome exchange students who will be arriving this fall. Whether you're curious or ready to commit, we're here to provide all the information you need and assist you in matching with the perfect student for your family! |


-1.png?width=120&height=119&name=Logo%20-%20ICES%20Transparent%20(large)-1.png)

